To me yarn is precious and should be cherished.
So much expertise and creativity goes into creating just one ball of yarn. There are many factors involved and many processes that come into play. Yarn never goes off and sometimes we need a ball of yarn in our stash simply because it feels good or the colour is amazing.
With all the hand dyed yarns about and with larger companies randomly discontinuing shades you never know if you will see that perfect shade again. So even if you buy more yarn than you needed for that perfect pattern, to me as a knitter it is always good to have that extra ball.
Yarn amounts given in patterns are always approximate because there are so many variables.
For example, with one of my designs I asked two knitters to knit 10 different versions each, all in the same yarn. They took two balls for each design and the amount of yarn that was left varied for each design. Sometimes there was just a metre left and sometimes there were over 5 metres left.
This was just a small design so imagine the difference on a larger design.
I have designed lots of patterns that only take one or two balls of yarn to use up this left over yarn. If I have extra balls at the end of my project I am very excited…to me it means I have a bonus project to make. I might not be sure what that is at that moment, that just makes it even more exciting!
Sometimes at the end of a project there is some yarn left over but not enough to make anything without using a different yarn and making a striped project or using the extra yarn as a contrast on a design.
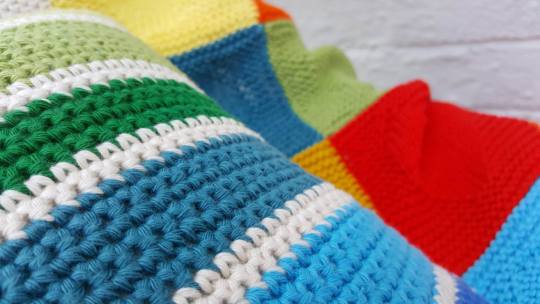
When I made my Love Hearts blanket there was yarn left over. I can’t throw that out.
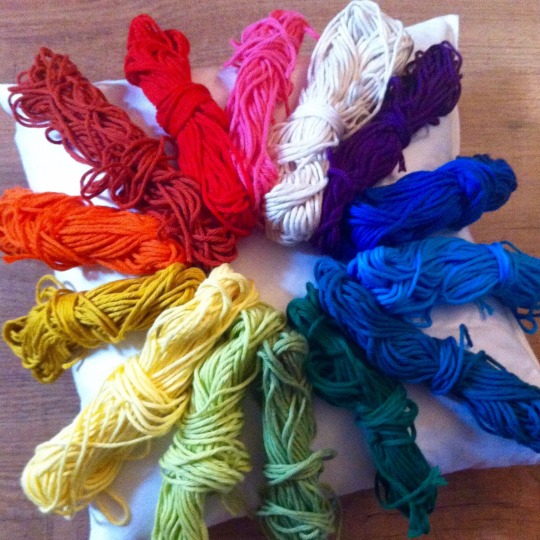
And when presented with yarn I have to knit with it….or at least think about knitting with it…I might have one or two hanks in my stash that I have just for stroking and loving the soft fibre or the gorgeous colour that are still waiting for that perfect project.
So I looked at the yarn and waited for inspiration. What should I do with this yarn?
I’m not sure when it came to me, I wasn’t sure how far the yarn would go, so I needed something that wasn’t size dependent, that if I had a little more or little less it didn’t matter.
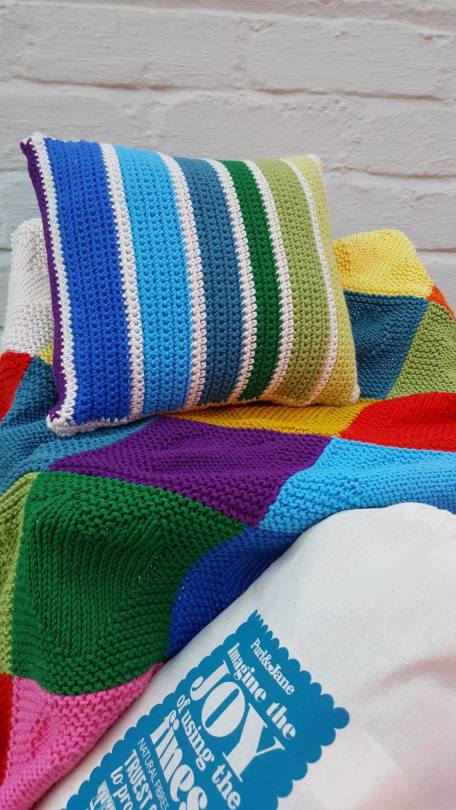
At the moment I am loving cushions. They are perfect for practising new stitch techniques or adding a fresh new colour to your interiors, as well as providing comfort….both while you’re knitting them and when they are completed.
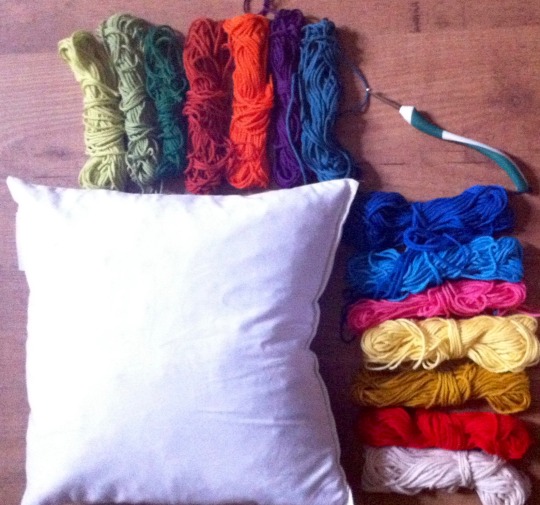
So I thought I’d crochet a striped cushion. I decided on crochet because it is easy to take back if any of the stripes weren’t how I wanted them and it’s easy to chain the width of the cushion and that will be the size of the cushion. With knitting I would have to do several versions to get the tension correct and the stripe pattern right. With crochet it’s quicker and simpler to design. If you need any help with crochet, please pop into the shop and ask – or check out my simple videos here.
I also might have a crochet workshop coming up.
I weighed all my leftover yarn from my Love Hearts blanket, each one varied in weight from 6g to 12g.
These are the shades I used and the weight of them:
Natural – 10g
Candy Pink – 7g
Red – 8g
Dark red – 8g
Orange – 10g
Mustard Yellow – 9g
Light Yellow – 11g
Light Green – 9g
Lime Green – 9g
Dark Green 49 – 6g
Teal – 8g
Turquoise – 10g
Royal Blue – 12g
Purple – 7g
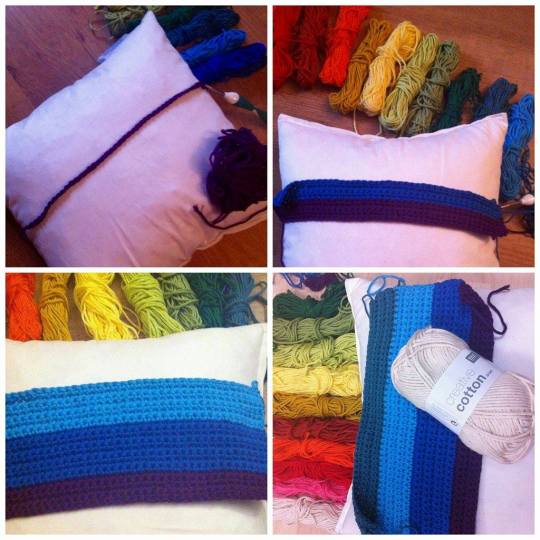
So first up I chained enough to fit my cushion.
I used a 30cm cushion and chained 44 stitches.
I made one turning chain and then double crocheted into every one of the 44 stitches.
I started at the bottom of my list because purple is one of my favourite colours and with the purple I double crocheted along the 44 stitches until the shade ran out. I worked a double crochet in one of the shades, then added the next shade, royal blue and the next one, turquoise…
The purple was 7g and made 5 rows, the royal blue was 12g and made 9 rows while the turquoise was 10g and made 7 rows.
I looked at how many rows I could get out of the yarn, and added up what the leftover would make and realised it wouldn’t make enough to cover the whole cushion.
I ripped back the rows I had done and thought…perhaps I should make something else? Or maybe get another ball of yarn and do one side in just that colour?
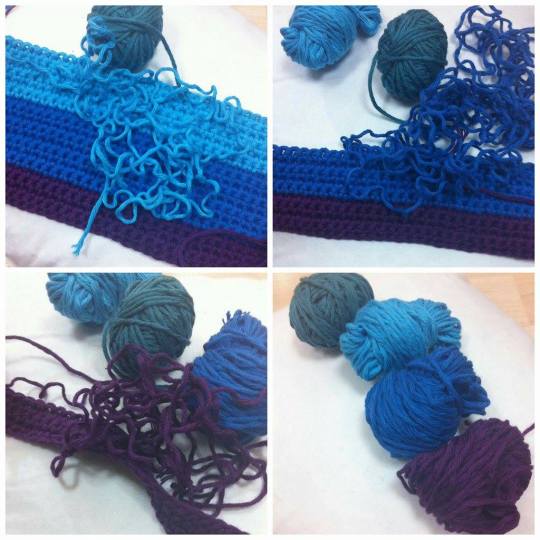
But I really, really wanted to stripe it in these shades….and then it came to me, I’ll get an extra ball of the natural and use 2 rows of that in between the other shades.
This time I started at the top of my list with the natural. I chained 44 stitches and used double crochet until all the natural had been used up (which was 8 rows for me).
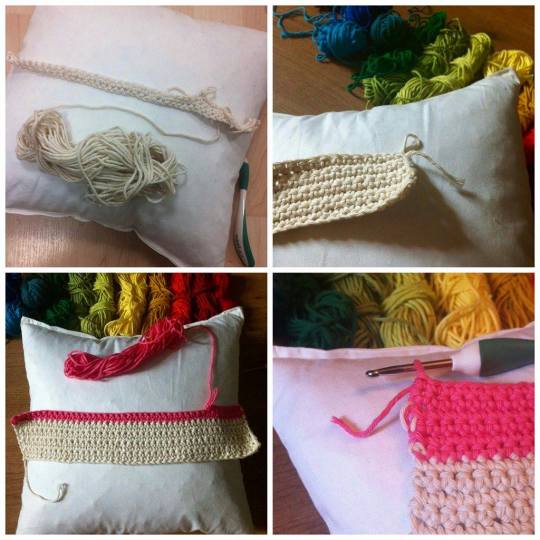
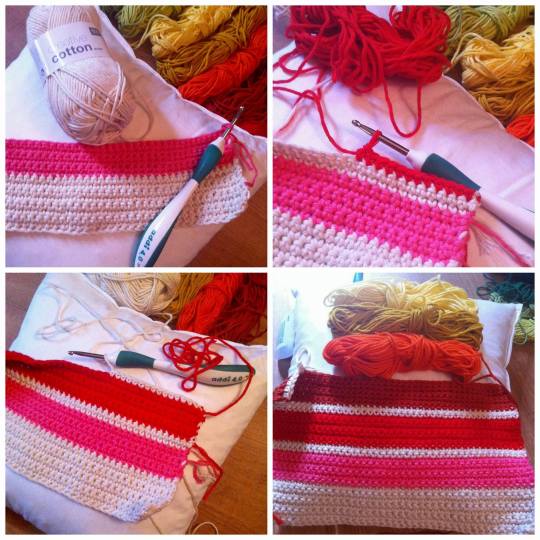
I then used the Candy Pink and doubled crocheted with this for 6 rows (with a teeny tiny bit left over – this is the rock n roll of crocheting on the edge!)
After this I added my 2 rows of natural before I started with the red and then after the red I used 2 rows of natural and onto the next shade, and I had my pattern sorted!
A Crochet Striped Cushion Cover Pattern
materials
Oddments of 14 shades including Natural.
4mm crochet hook
5 buttons
30cm x 30cm cushion pad
to make
With the first shade in the colour sequence, chain 44 stitches, chain one (this is your turning chain).
This is the long explanation for those new to crochet: Starting with the 2nd chain from the hook, (you have one loop on the hook, then there will be one chain under this, the next one is the 2nd chain from hook) work one double crochet into each of the 44 chain stitches, make one chain, this is your turning chain.
To work the row as below you are double crocheting into each double crochet, this means after you have worked your turning chain you are going under the top of the double crochet made on the previous row, it looks like a v on your hook, as you put your hook underneath it.
The row: Work one double crochet into each of the 44 double crochet stitches, make one turning chain.
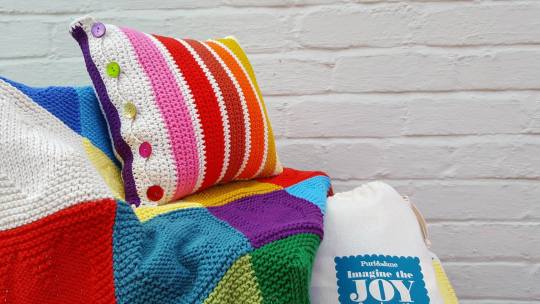
Repeat the row as above in the colour sequence below:
Natural – 8 rows.
Candy Pink – 6 rows.
Natural – 2 rows.
Red – 6 rows.
Natural – 2 rows.
Dark red – 6 rows.
Natural – 2 rows.
Orange – 7 rows.
Natural – 2 rows.
Mustard Yellow – 7 rows.
Natural – 2 rows.
Light Yellow – 8 rows.
Natural – 2 rows.
Light Green – 7 rows.
Natural – 2 rows.
Green – 7 rows.
Natural – 2 rows.
Dark Green – 4 rows.
Natural – 2 rows.
Teal – 6 rows.
Natural – 2 rows.
Turquoise – 7 rows.
Natural – 2 rows.
Royal Blue – 8 rows.
Natural – 2 rows.
Purple – 4 rows.
These are the rows I made with the yarn I had leftover, you might have different amount of rows for each shade.
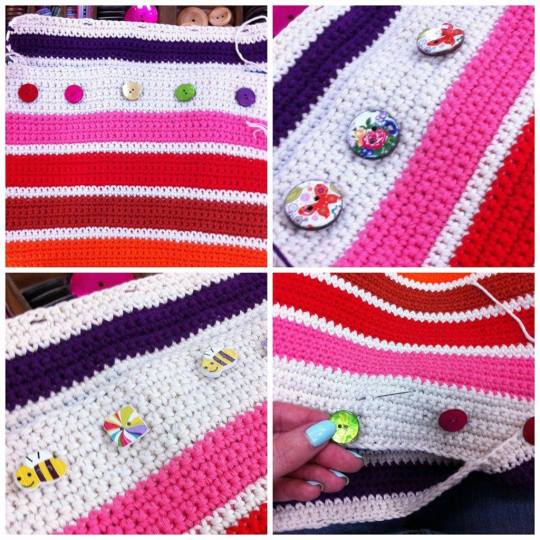
to make buttonholes
With Natural work 2 rows in double crochet.
Buttonhole row: double crochet into next 3 double crochet stiches, chain 2 stitches, skip next 2 double crochet stitches, [double crochet into next 7 double crochet stitches, chain 2 stitches, skip next 2 double crochet stitches] to last 3 double crochet stitches, double crochet into last 3 double crochet stitches.
Fasten off.
to make up
I used the Natural and worked a one row double crochet edging around both sides of the cushion.
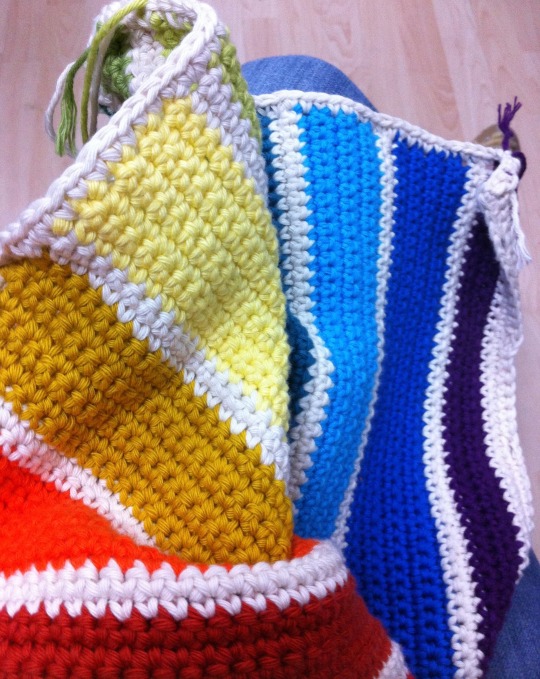
I did this by just going into every row and working a double crochet stitch.
I then folded the cushion in half, placing the natural stripe next to the natural 2 row stripe under the purple stripe.
I then double crocheted the edges together.
If you have any questions or would like any help, please do pop in to see me in the shop or get in touch.


